Plotter, version 1.0
Plotter 🖊️🤖
I am building my own plotter by following the BrachioGraph tutorials. My goal is to create a machine that I can customize to meet my specific painting and drawing needs. BrachioGraph is great because I can minimize the material cost, and the software driving the arms movement is open source and in Python, making it easier for me to add my own twist if I wish. I want to use the drawing machine in my painting or drawing process, but the specifics of it are still unknown to me.
Building version 1
From BrachioGraph documentation:
A BrachioGraph can be built for about €15 in an hour or so
Well, it definitely took me more than an hour. It was my first time using a Raspberry Pi and before I think I soldered only once. I was (still am) clueless on electronics. I would say it took me a month. I could only dedicate a few hours here and there…
Which materials did I use?
- a Raspberry Pi Zero 2 W
- clothes pegs
- a breadboard
- various jumper wires
- very cheap servo motors
- wood sticks from a café
- glue
- pen / pencil / charcoal
The overall cost of all materials together remained below 30£.
This is the assembled plotter, version 1:
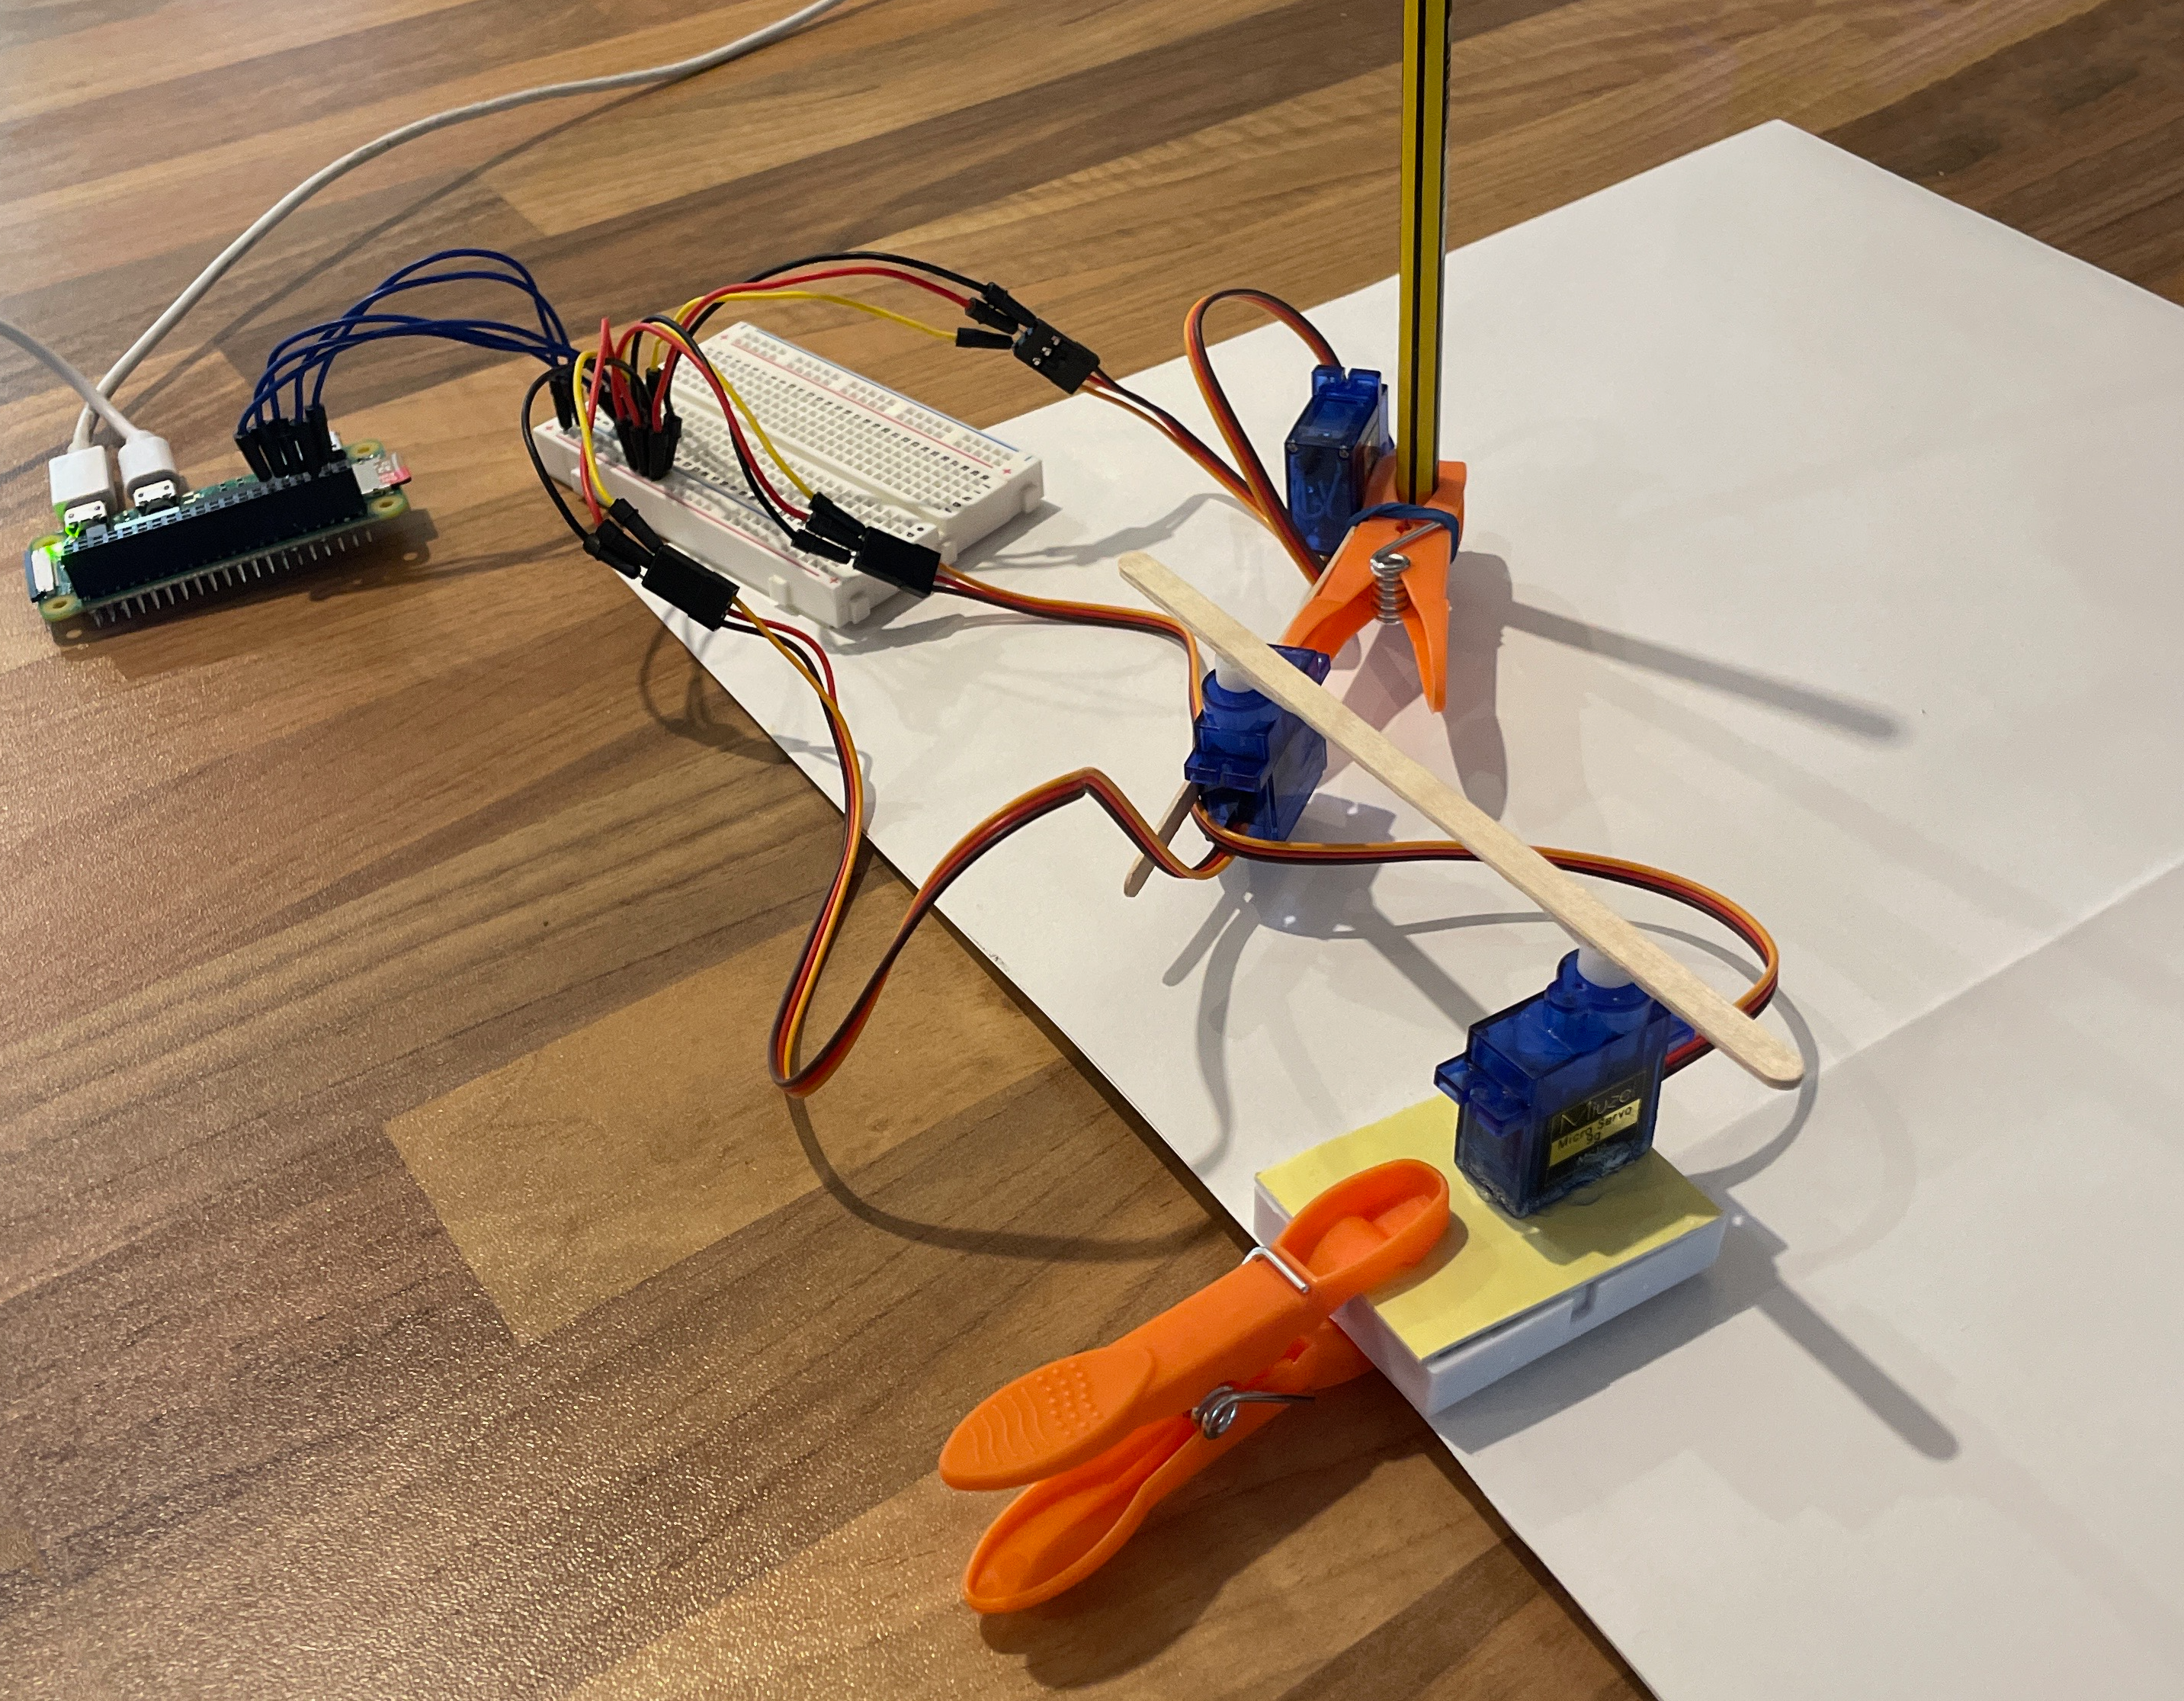
Here you can see how version 1 looked like with a pencil. The “shoulder” servo needed to be lifted up from the paper to have enough gap to lift the pencil up and down. Here I glued it to a spare breadboard, and clipped it to a piece of paper to make it stable. I tried several mediums: pens, pencils, charcoals, chalk. In general, a medium that works well is one that does not require pressure from the top in order to release the pigmented material. A soft pencil (8B) works well.
I then started to plot simple shapes and noticed there were plenty of deformations. They give somehow a playful effect.
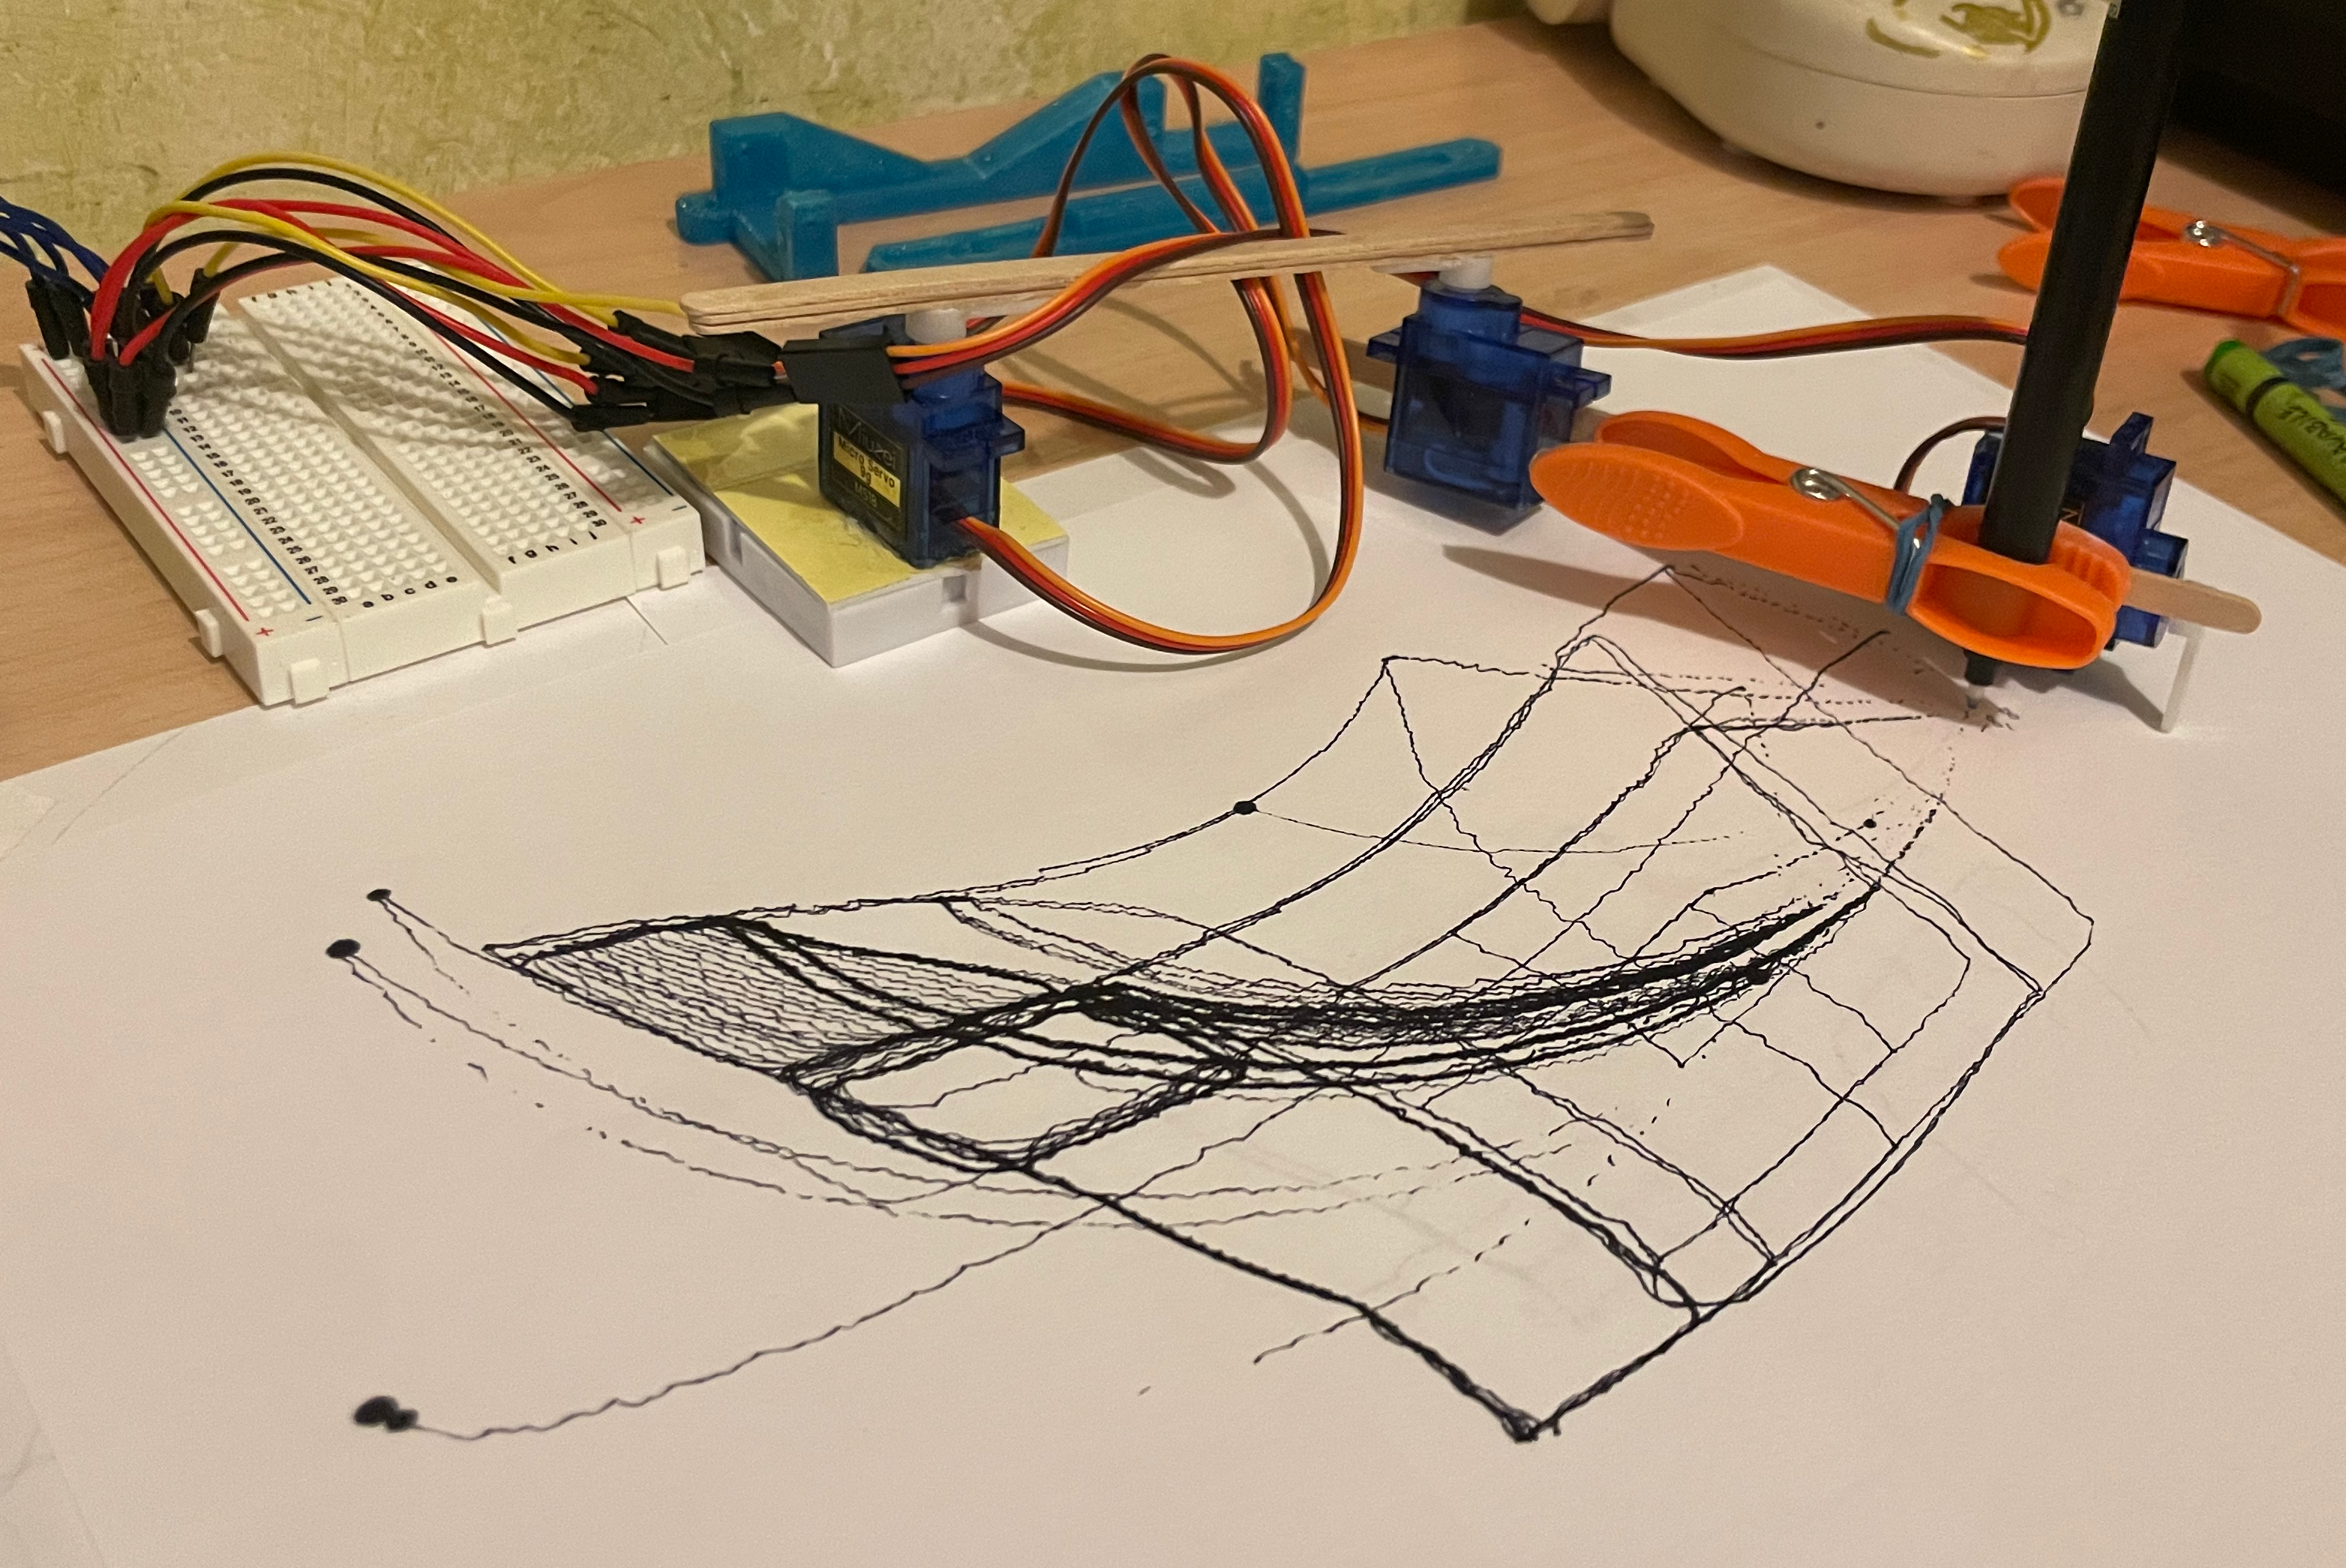
In this photo, you can see that I fixed the support of the shoulder servo to my desk with tape. Paper was fixed to the table with tape as well. I found this setup more stable than the one in the previous photo. I experimented with a pen here aiming to make rectangles. The arcs you see are the trajectories of the pen towards the starting points of the rectangles and shouldn’t have been drawn. They appeared because the wood sticks bent and the pen touched the paper in certain areas. The thick dots are due to the pen resting in one spot for too long.
I wanted to make a simple composition just with rectangles. To draw them I used the method bg.box() and provided the bound parameter, giving the coordinates of two points. I was struggling to map these coordinates to the space on the paper, but at the end I figured it out (maybe). Here some coordinates sketched on a practice paper.
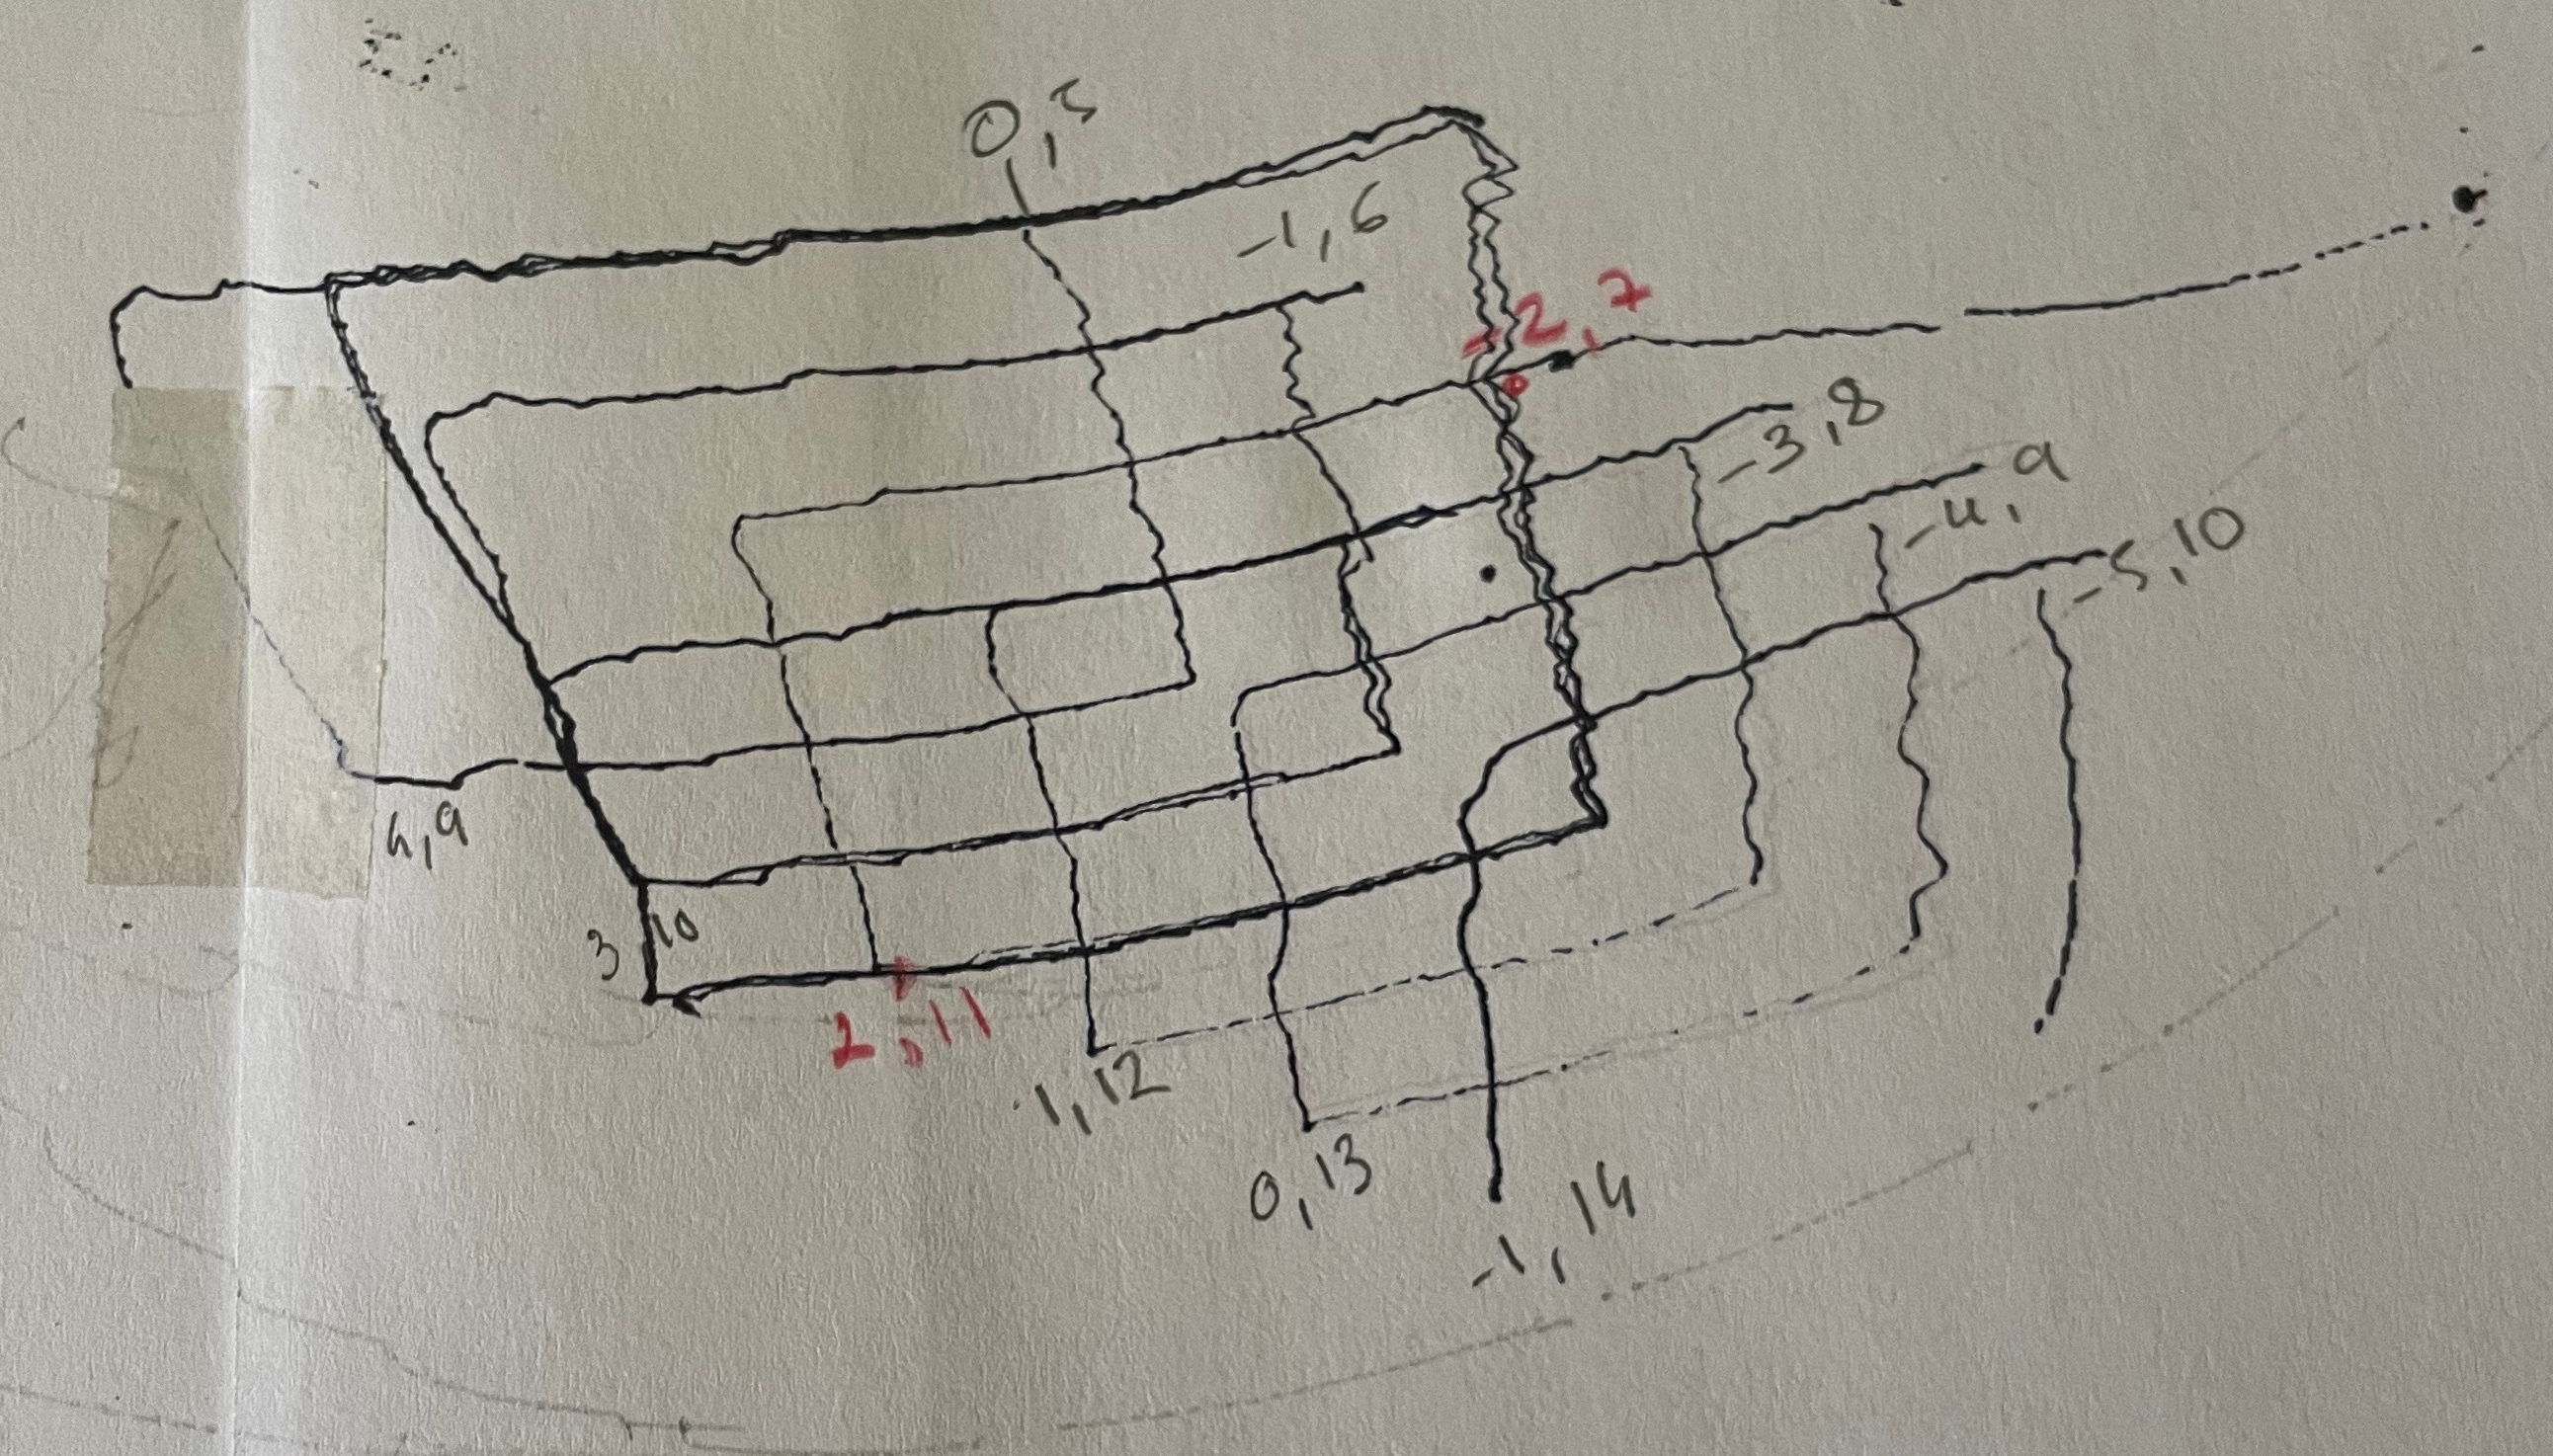
As you can see from the example, this is a good prototype but has a few points to be improved:
- its position relative to the paper is unstable—I need something better than tape;
- the area in which it can draw is limited to a surface about the size of an A5 paper.;
- the wood sticks are soft and bend when the servos rotate, causing deformations.
I’ve a few ideas for solving these problems:
- I can design a new holder for the shoulder servo. It can be mobile (to be mounted on a canvas); or immobile (connected to a a surface in which to place paper);
- I can design different arm sizes or arms which length can be regulated;
- use a 3D printer to print custom arms.
In version 2.0, I’ll rebuild the plotter using 3D-printed arms designed by another hobbyist who followed the BrachioGraph tutorial. I’m looking forward to seeing if the rigid arms will eliminate the deformations!